


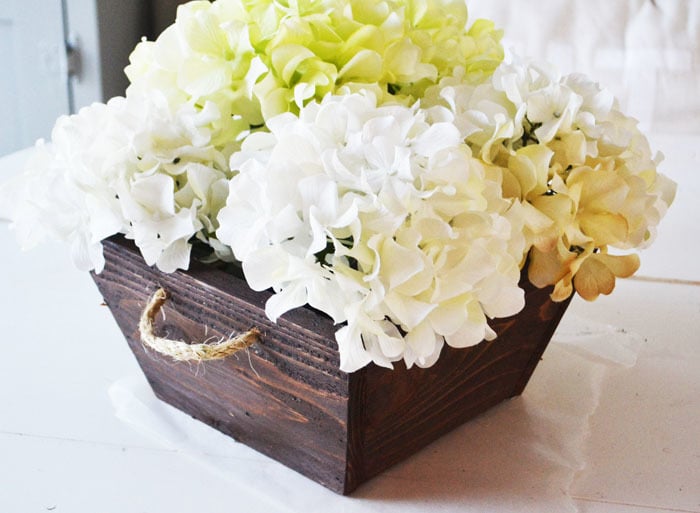
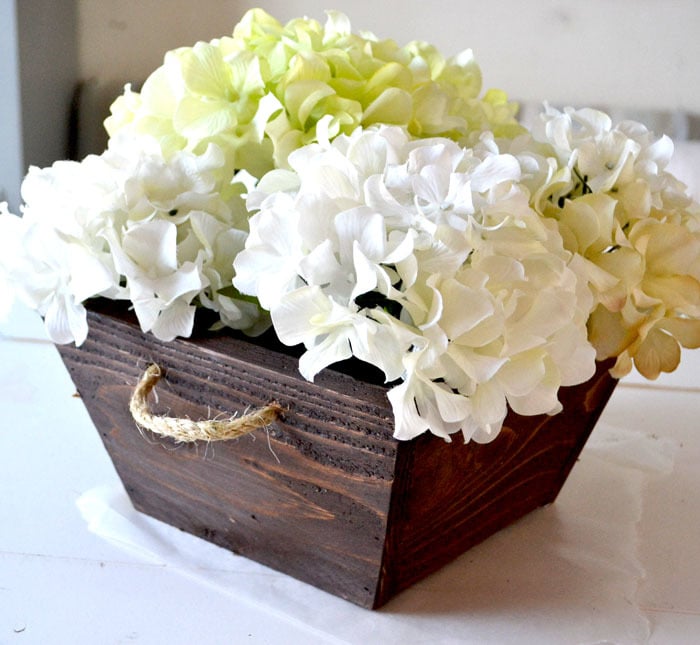
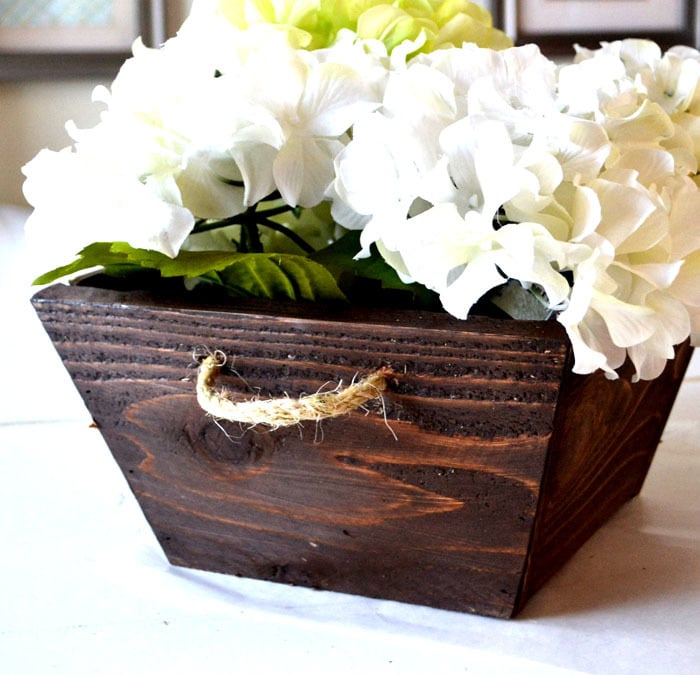
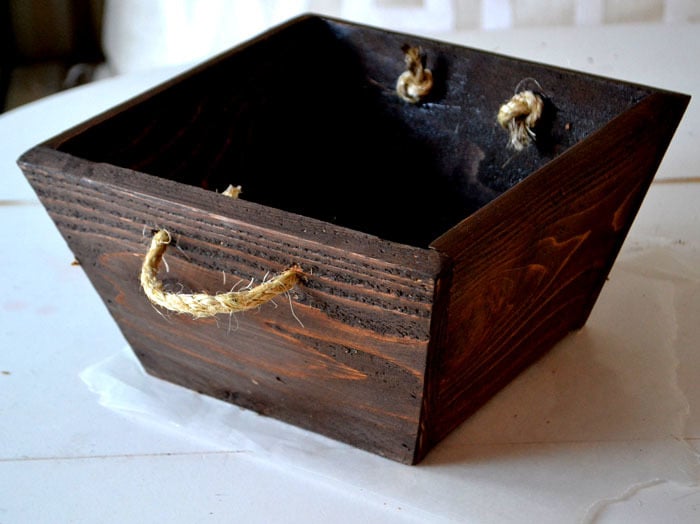
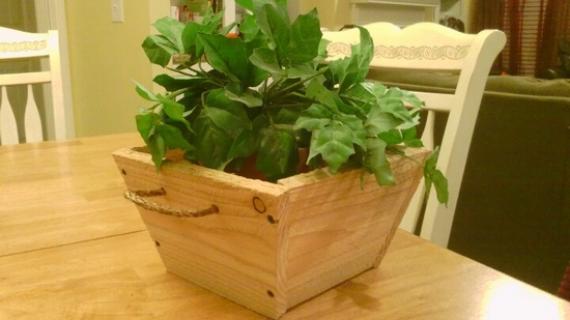
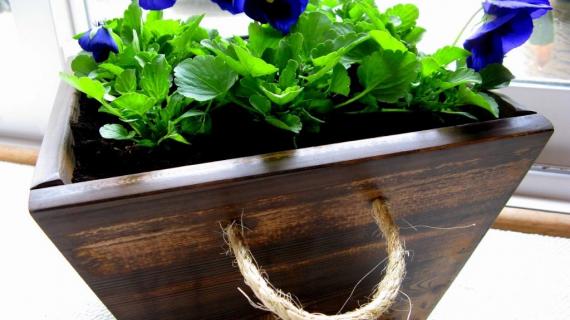
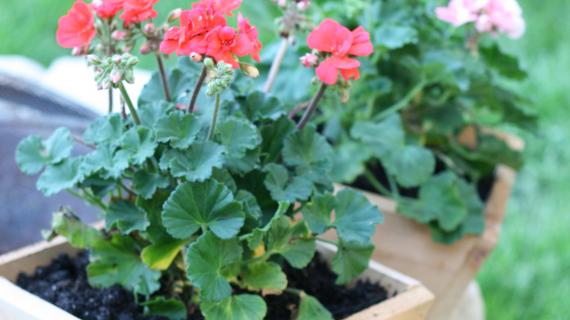
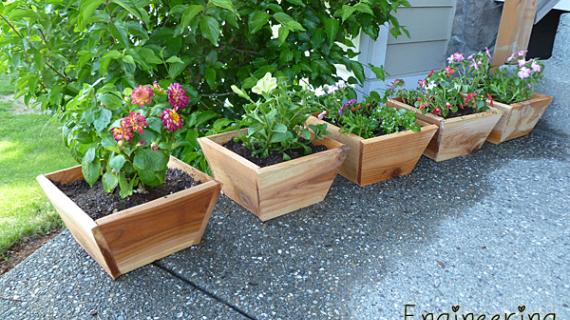
Free plans to build a cedar planter for a dollar from ana-white.com
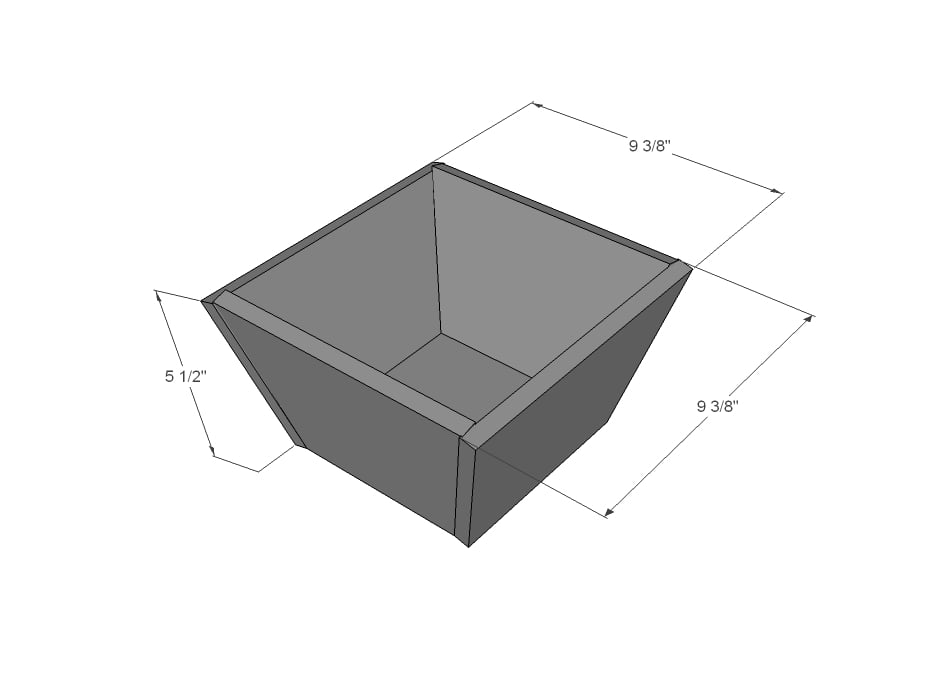
Preparation
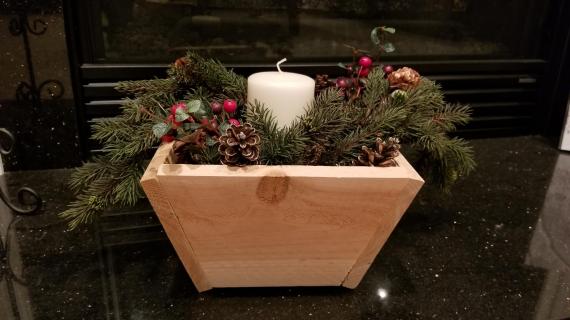
1 - 1/2" thick x 5 feet long cedar fence picket (you can get two planters from one fence picket)
I used 1 1/4" galvanized nails but screws would also work - just use exterior grade if using outdoors
Outdoor wood glue (for outdoor use)
2 - 1/2" x 5 1/2" cedar fence pickets @ 5 1/2" long - shortest point measurement, both ends cut at 15 degrees off square, cut ends are NOT parallel to each other
2 - 1/2" x 5 1/2" cedar fence pickets @ 6 1/2" long - shortest point measurement, both ends cut at 15 degrees off square, cut ends are NOT parallel to each other
1 - 1/2" x 5 1/2" cedar fence pickets @ 5 1/2" long


Please read through the entire plan and all comments before beginning this project. It is also advisable to review the Getting Started Section. Take all necessary precautions to build safely and smartly. Work on a clean level surface, free of imperfections or debris. Always use straight boards. Check for square after each step. Always predrill holes before attaching with screws. Use glue with finish nails for a stronger hold. Wipe excess glue off bare wood for stained projects, as dried glue will not take stain. Be safe, have fun, and ask for help if you need it. Good luck!
Instructions
Step 1
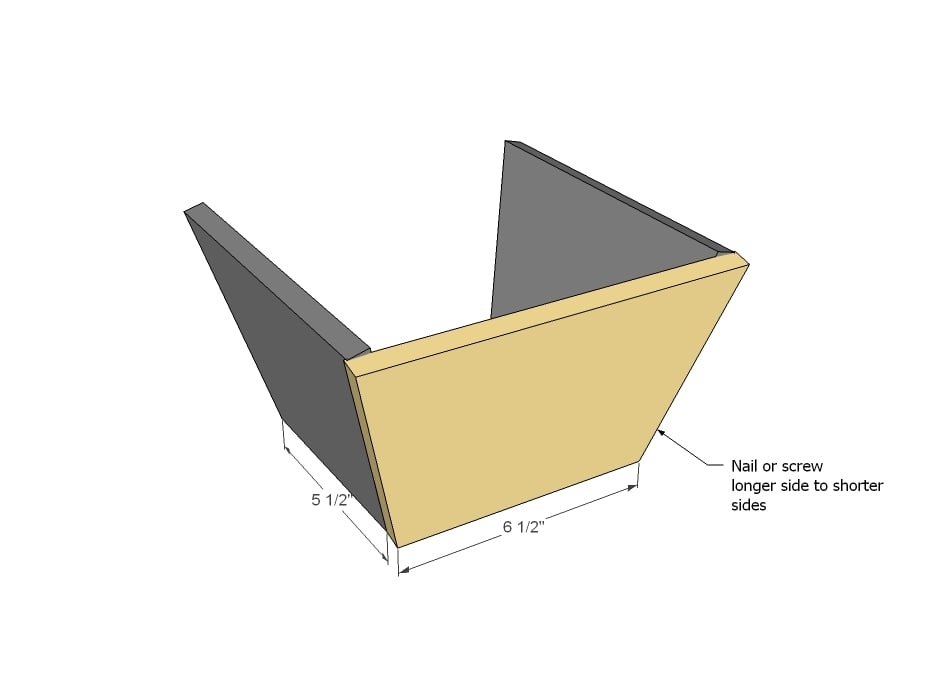
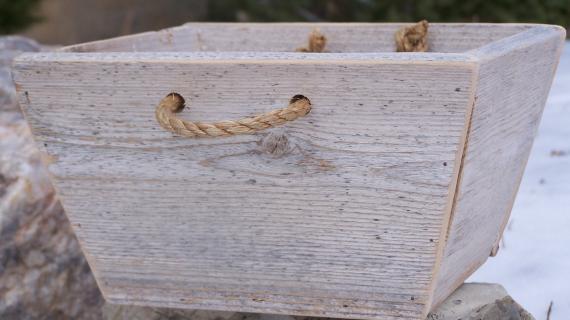
Attach one long side to two short sides, keeping outside top corner flush and outside edges flush.
Step 2
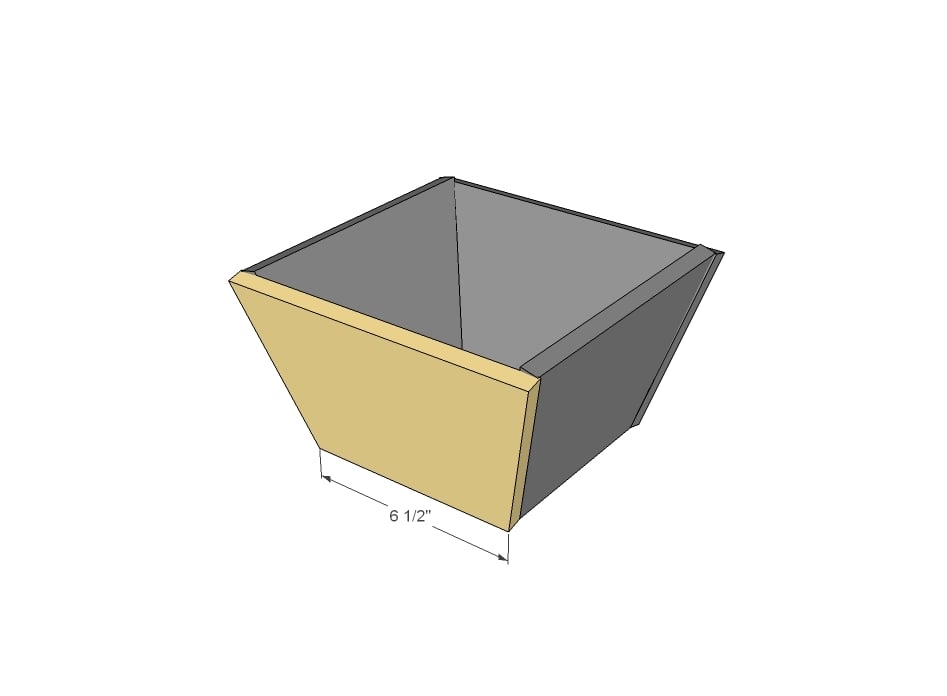
Then attach remaining side.
Step 3
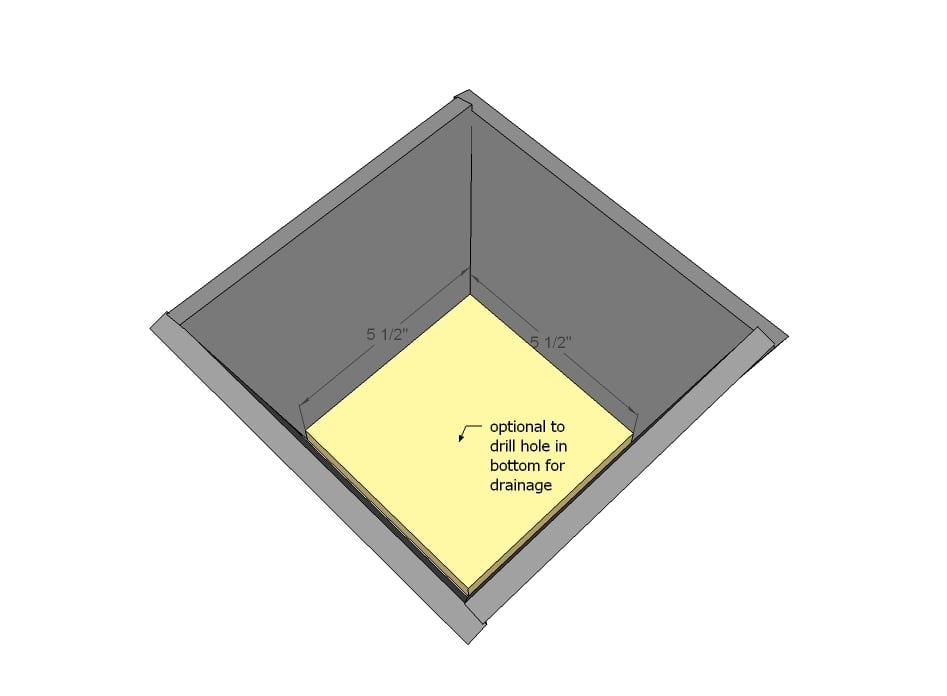
Set bottom inside the planter. I choose not to attach because it will be easy to remove soil from planter with removable bottom. You could also nail the bottom in place through the sides.
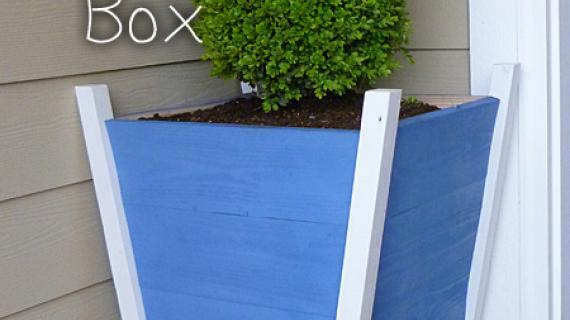
It is always recommended to apply a test coat on a hidden area or scrap piece to ensure color evenness and adhesion. Use primer or wood conditioner as needed.


.jpg)
Comments
jaimecostiglio
Wed, 02/13/2013 - 15:34
Too darn cute!
Ana those are fabulous, makes me want to make a bazillion! And I spy a little something in the background - it looks great with the banquette in its new home.
Ana White
Wed, 02/13/2013 - 16:25
Thank you Jaime! The pillow
Thank you Jaime! The pillow is one of our favorite things in our home! Thank you it is beautiful and we've received so many compliments on it! I'm a little ashamed that we still haven't put the hinges on the gray cabinets and photographed and posted plans - my bad! - hopefully very soon!
For those of you wondering what the heck we are talking about - the gorgeous pillow on the bench in the video that says WHITE is handmade by Jaime. I promise I will get you beautiful photos soon when I post the gray cabinet plans.
Thank you everyone for the plan love - this was a really fun easy project, and if you have kids, you could predrill holes and use screws so they could assemble their own planters! Hope to see lots of brag posts!